ALL SECURITY RELATED TOPICS ON IoT wILL BE POSTED THERE
2014-07-18
>> EVOTHINGS HACKNIGHT - ARDUINO BASED RC BUGGY (PART 2)
... now the firmware is done, lets write an application to control it!
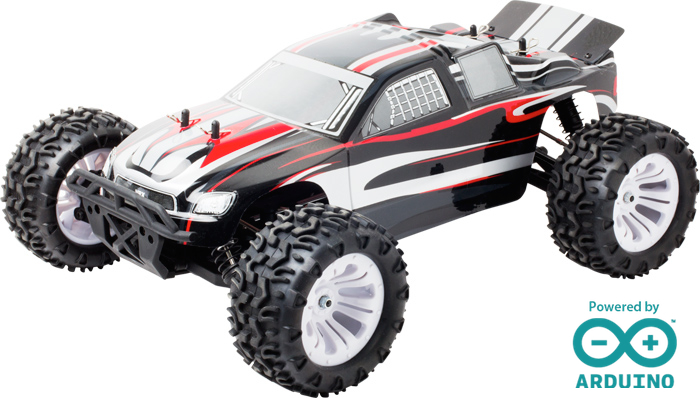
In a recent blog post we explained how we dismantled
a remote control car and put an arduino micro controller inside - to conclude,
of course there needs to be an application to communicate over
low energy Bluetooth and control the car for iOS or android devices.
Evothings AB has a great prototyping tool that allows you to create applications quickly
and for multiple platforms at the same time. Essentially it is a custom built
Apache Cordova platform with some cool usage tools and most importantly has a set of
low energy Bluetooth Cordova plugin's ready to use out of the box.
Our first obstacle was to scour around our code archives and search the
Internet to see what we could re-use and tweak to do exactly what we need.
We settled on basing our code on Eric's
Raspberry Pi Car
and integrating some code from examples provided by the platform.
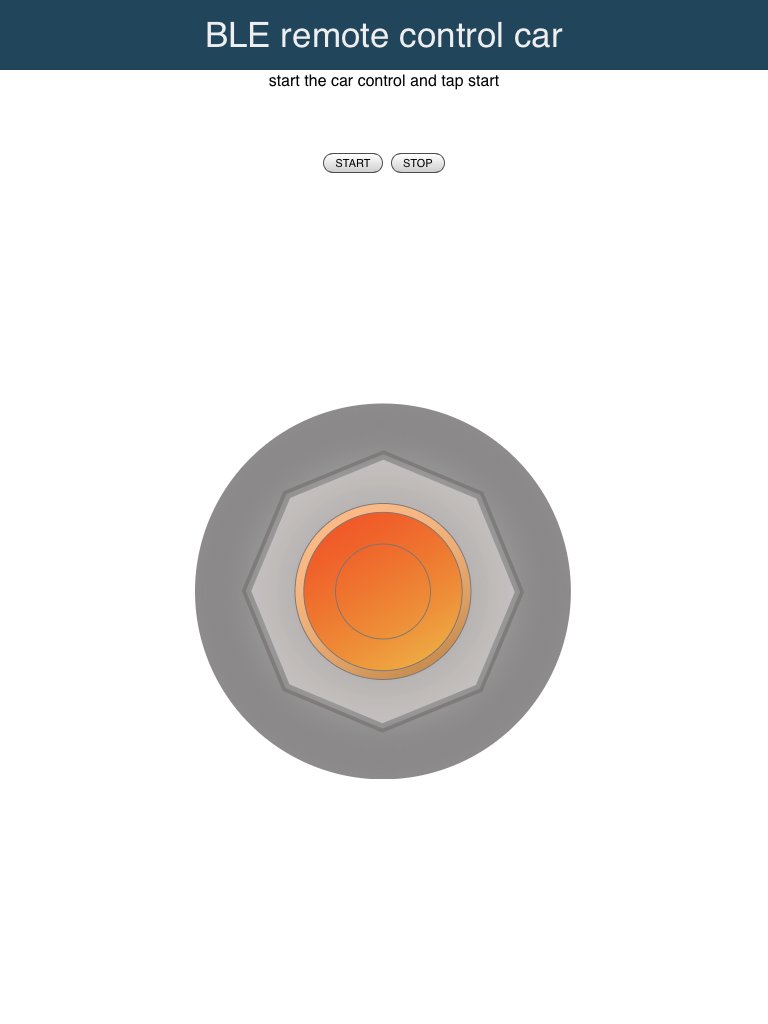
The Raspberry Pi Car example provides us with the graphics and the
thumb-stick interface object for receiving input from the user on the
mobile device; we just need to modify the JavaScript to map the x
and y values between -127 and 127 for the arduino firmware.
// create our thumbstick
app.thumbStick = new ThumbStick('stage');
app.thumbStick.init();
app.thumbStick.onUpdate =
  function()
  {
    // calibrate to -127 .. 127 from raw data of thumbstick
    var val = app.thumbStick.stick;
    app.controlX = Math.round(-((val.length*val.normal.x)/val.maxLength)*127);
    app.controlY = Math.round(-((val.length*val.normal.y)/val.maxLength)*127);
  };
With this; the variables app.controlX and app.controlY
have the input values we need.
The next step is to actually communicate over low energy Bluetooth to
the device - for this, there is a small library called "easy-ble"
that has been built on top of Evothing's more advanced
BLE plugin
for simple usage (it is perfect for what we need). The basic
logic behind how to establish a connection and start a communication
loop is as follows (pseudo code):
onStart:

  // find all available BLE devices
  devices[] = easyble.startScan()
  for each device in devices[]
  {
    // lets make sure the device is our "carcontrol" BLE device
    if (deviceIsCarControl(device))
    {
      // connect to the device
      if (device.connect())
      {
        // validate the device does BLE TX (receive / transmit)
        if (device.readServices(BLE_RX_TX))
        {
          // found the device!
          set callback timer to sendDataPeriodically() every 50ms
          break;
        }
      }
    }
  }                   NOTE: the above isn't real code - do not try to use
Of course, the devil is in the details - you can check out the exact
JavaScript code to see the method in which this is implemented; the
goal in the blog is to explain the concepts. The actual transmission
of the information is performed in the sendDataPeriodically()
function:
// write a packet of information to the service
var packet = new Uint8Array([-128, app.controlX, app.controlY]);
device.writeCharacteristic(BLE_RX_TX, packet, ...);
A small three byte packet containing three signed 8-bit integers is
created comprising of the values -128, app.controlX
and app.controlY - which is the expected communication protocol
that we defined within the arduino firmware earlier.
Once the project is loaded within the Evothings Workbench (simply drag
the index.html file into the main window) and a compatible device
is connected - starting the application is as simple as clicking on the
"Run" button next to the project name. The application should start on
the device and contain an information bar, two buttons for scanning and
a thumb-stick for user control - looking similar to the image on the right
below:
We have placed the complete project on
github (Apache 2.0 License) so you can download
the project in its entirety and play around and start building your own
remote control car. We have filmed a small video of the arduino car and
mobile device combo in action:
We are definitely not the best drivers yet (still need a lot more practice)!
There is room for improvement in regards to the mobile device
control mechanism - such as using two thumb-stick controls, one for the
steering and and one for the drive train in addition to some fine tuning
(extrapolation) of the data being transmitted for smooth control.
DISCLAIMER:
All content provided on this blog is for informational purposes only.
All comments are generated by users and moderated for inappropriateness periodically.
The owner will not be liable for any losses, injuries, or damages from
the display or use of this information.
![[Valid RSS]](valid-rss-rogers.png "Validate my RSS feed")