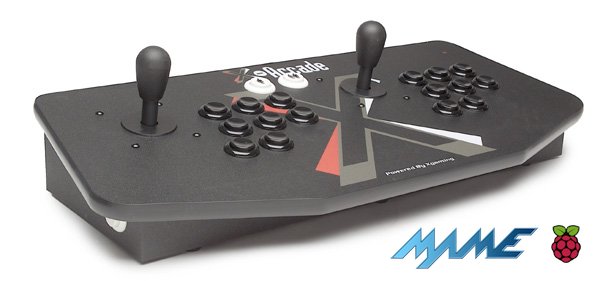
>> RASPBERRY PI - X-ARCADE MAME JOYSTICK
I have been waiting a long time to find time to do this project - here it is!
After ordering my devices from the
Raspberry Pi Foundation
(which, arrived super fast) - one of them was just screaming to be
configured to run
M.A.M.E
and be integrated inside the joystick for easy connection and maintenance;
letting me drop the old laptop I was using.
There are plenty of instructables out there on how to do this; but I will
cover the basics here.
Step 1: Configuring the Raspberry Pi 2
Having a Raspberry Pi that boots in the first place is critical to this
project; expect this to be the longest phase of this build - specifically
downloading and writing the raspbian OS image to the microSD card and
being able to see the device booted.
- download latest Raspbian OS
- flash operating system to micro SD card
There is a great
Quick Start Guide
for doing this; but it involves getting an 8Gb micro-SD card and writing the
latest raspbian OS - since I use a Mac; I used the following command:
$ sudo dd bs=1m if=2015-01-31-raspbian.img of=/dev/disk1
Once the device is booted; the rasp-config program will start
automatically - where the first thing you should do is expand the system
to utilize the full storage space of the memory card and most importantly
change the default password of the device.
To ensure everything is up-to-date; connect an ethernet cable and execute:
  $ sudo apt-get update
  $ sudo apt-get upgrade
  $ sudo date -s "4 Feb 2015 12:00:00"
  $ sudo rpi-update
It is important to set the right date on the device to ensure the update
goes without issues.
Step 2: Installing M.A.M.E. and operating system tweaks
A number of M.A.M.E. ports exist but I decided to go with the
mame4all-pi
version by Squid.
  $ cd ~/
  $ mkdir mame-pi; cd mame-pi
  $ unzip ../mame4all_pi.zip
I grabbed an old 037b5 ROM image I had floating around to test it -
only to find that the HDMI audio was not working; ended up being the
PulseAudio library breaking ALSA. It was simple enough to remove
from the device however - just execute the following.
  $ sudo apt-get --purge remove pulseaudio
  $ sudo apt-get autoremove
The mame4all-pi executable provides a great little game
selector and with the removal of PulseAudio the beauty of sound
came through. If you get issues with mono audio on HDMI - you
have to set the force_stereo parameter to yes in
the mame.cfg file.
It is also important to make sure the device boots up directly into M.A.M.E.
- two things are needed for this, auto login and launching the application.
This is done by making system changes to two files:
  $ sudo vi /etc/inittab
  ...
  #1:2345:respawn:/sbin/getty 115200 tty1
  1:2345:respawn:/bin/login -f pi tty1 /dev/tty1 2>&1

  $ sudo vi /etc/profile
  ...
  /home/pi/mame-pi/mame
First; replace the getty process on tty1 with a
login process; consuming that terminal interface - simply
find the line, comment it out and place the new underneath. The last
one modifies the user profile script which starts the program on login.
A quick reboot; and viola - working as planned.
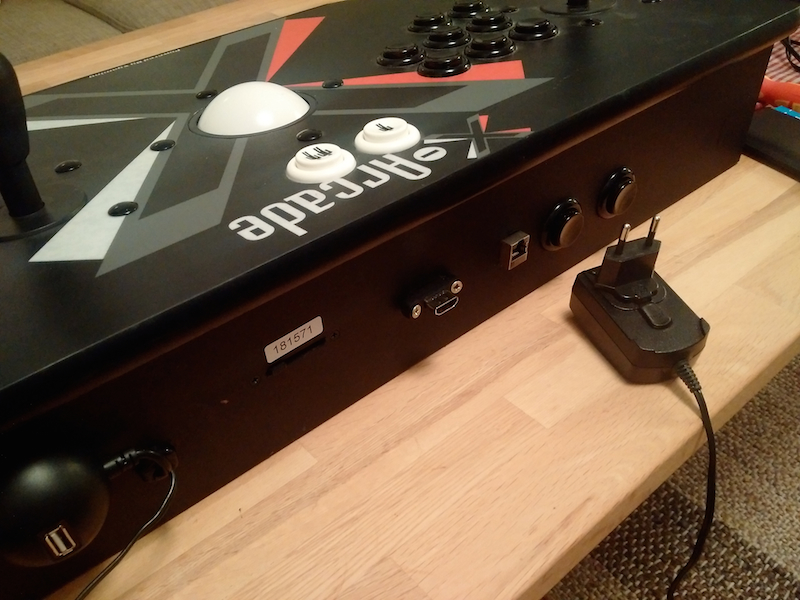
Step 3: Opening joystick, mounting device and external connectors
The idea was to make the unit as self-contained as possible yet also
allow for maintenance and the ability to install new ROM images easily -
the great thing about the x-arcade joystick is there is sufficient space
inside the base of the unit for the Raspberry Pi.
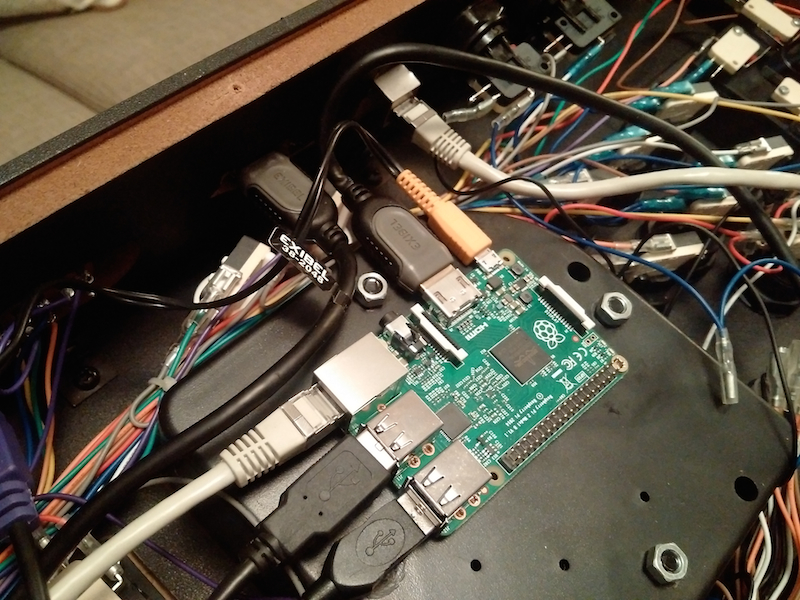
A few holes existed on the underside of the track ball - which made
perfect mounting points of the device; it was quite simple to bring the
cables back inside the case (had to cut a little) - but, the plan was
to re-use these holes for power, ethernet and HDMI pass-throughs and use
a USB cable extender to allow connection of an external keyboard or
storage device.
Step 4: Tweaking the environment to suit the X-arcade joystick
The
X-arcade joystick
basically simulates a keyboard - however it does not exactly map to the
appropriate key definitions that have been defined within the
mame4all-pi menu system and the M.A.M.E. controller interface
itself - thankfully, just a matter of key mappings.
  $ sudo vi /etc/kbd/config
  ...
  #LEDS=+num
  LEDS=+num
It was important to ensure the number lock functionality was on for the
main joystick to send appropriate keycodes - for the menu, it was just
a case of changing the following mappings:
  $ sudo vi /home/pi/mame-pi/mame.cfg
  ..
  [frontend]
  K_START=306  # left control
  K_LEFT=260   # numpad 4
  K_RIGHT=262  # numpad 6
  K_UP=264     # numpad 8
  K_DOWN=258   # numpad 2
Of course; once M.A.M.E. started - press TAB using a normal
keyboard and go through configuring the default keyboard
options for player one and two so they can be used by all the games
installed on the device - if you have started any game prior to doing
this make sure you remove the configuration file created to ensure the
new codes are used.
Step 5: Gaming heaven!
I will simply leave this one title screen here (
mame4all-pi supports 2270 romsets).

One of my all-time favourite arcade games; that took countless hours
and money from my childhood;
Bubble Bobble
- at this point I am more interested in playing this beauty than continuing
working on this blog post; which I am sure is completely understandable!
I am looking forward to potential updates to mame4all-pi
that will include support for multitasking to utilize those four
cores to the maximum - however, all the games I tested work flawlessly
so until I find one which is more demanding, this rig is set to go!
UPDATE 2016-03-09:
Just over a year later I have covered how to deal with proper shutdown
and other small tweaks that you may want to consider in
the updating x-arcade MAME blog post based on some of the discussions
in the comment section below!
![[Valid RSS]](valid-rss-rogers.png "Validate my RSS feed")